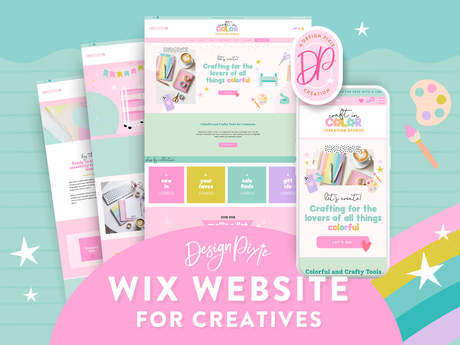
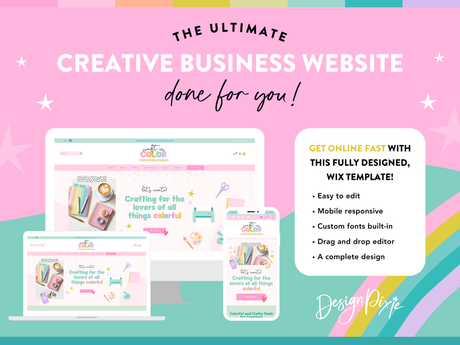
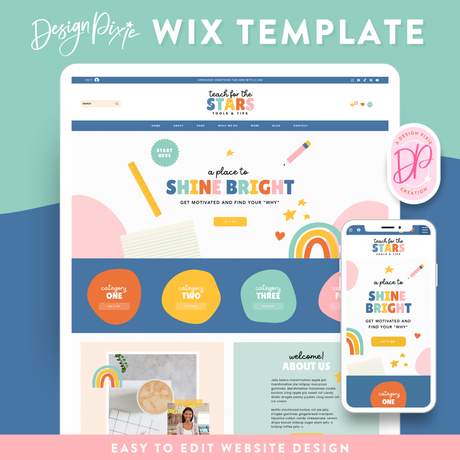
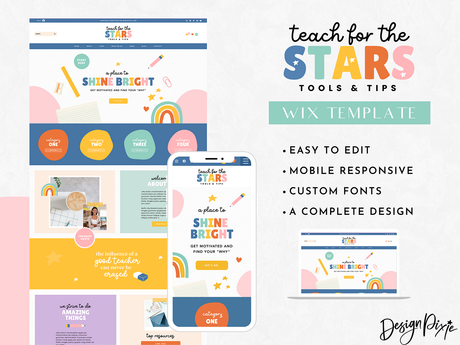
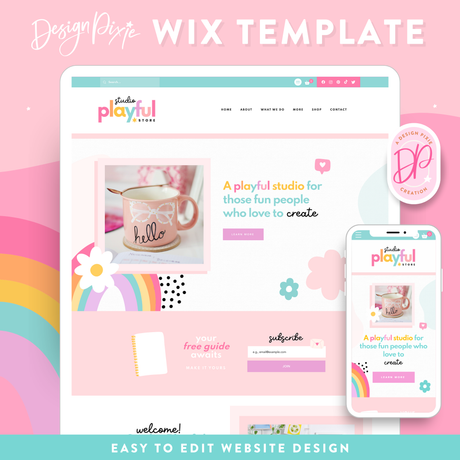
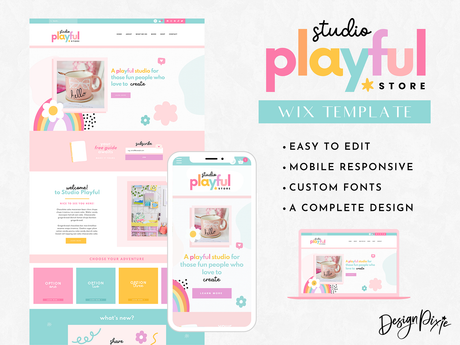
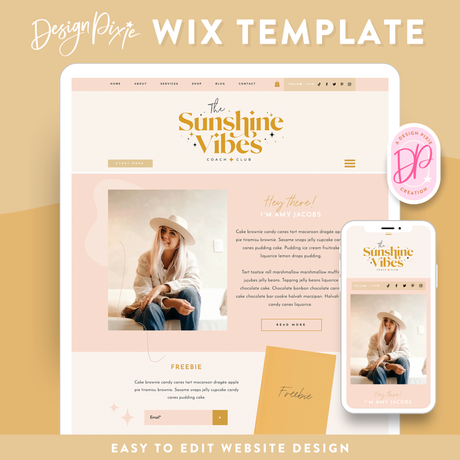
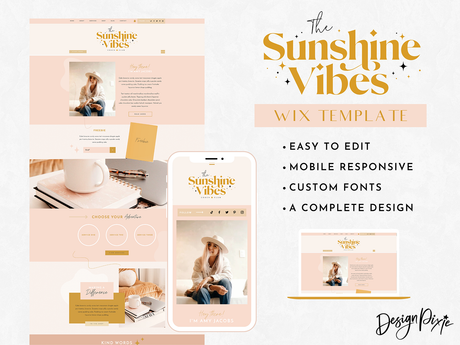
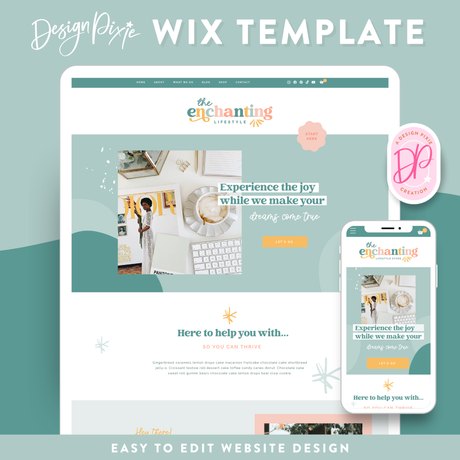
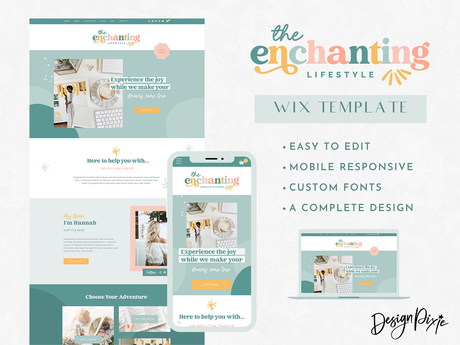
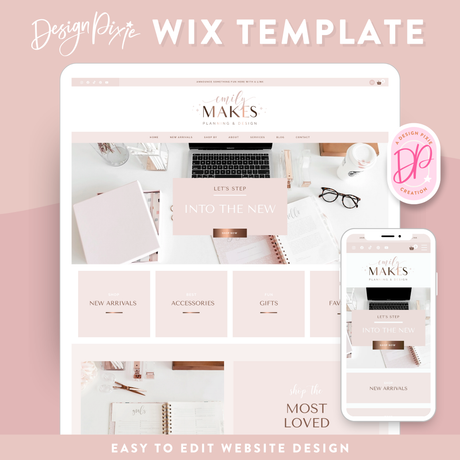
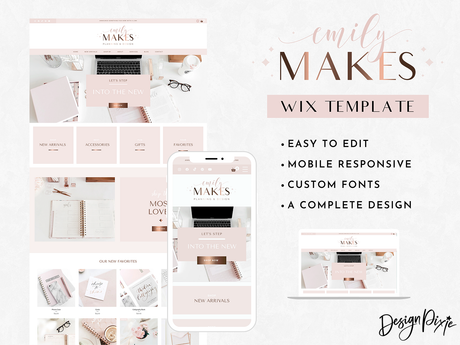
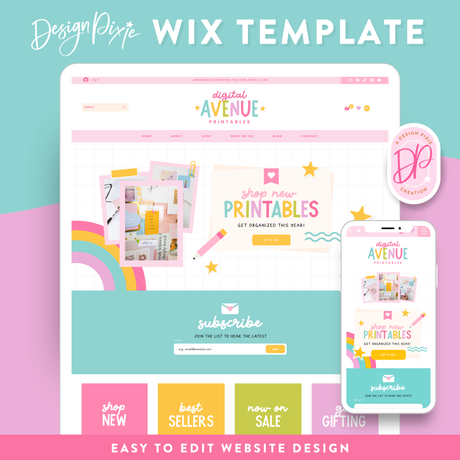
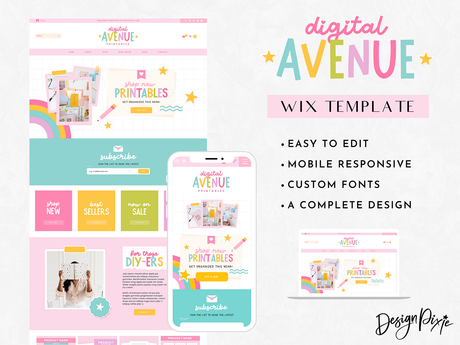
Find out how to start a Wix website with easy instructions to get started on Wix. Create your own website using a Design Pixie Wix Template and you will have a fast and affordable website design, ready to go live.
Firstly, let's run you down on the basic steps to get started on Wix.
Starting A Wix Website
Please see the following steps on how to start a Wix website:
- Create A Wix Account
- Follow the Setup Steps
- Access the My Sites Section
- Purchase a Wix Template
- Accept the Site Transfer
- Edit the Template
- Connect a Domain
- Publish Your Website
1. Create A Wix Account
Go to Wix and click the Get Started button. This will take you to a Login page, where you will see a link to Sign Up.
Enter your email address and chosen password and then click Sign Up.
When you create an account on Wix, they will automatically get you into the process of setting up a website. As a Design Pixie template is sent to you as a new website, the website you are creating with Wix right now is unimportant. So your goal is to keep clicking Skip until they have set you up with a website (that you won't be using).
2. Follow the Setup Steps
Wix will ask you a few questions to understand what you will be using Wix for, and what type of website you are creating. As you will be using a Design Pixie Wix Template, you can skip these questions by clicking the Skip button bottom right.
You will eventually be taken to the Wix Dashboard for the website that you won't be using.
3. Access the My Sites section
In the top left corner of the dashboard, you will see a button that says "My Site 1" (or if you gave the site a name during setup, it will be there). Click on that button and then click "Go To All Sites".
You are now where you need to be! The My Sites section is where you will see all the websites you create on Wix. This is the page where you will find your new Design Pixie template, once transferred to you. Bookmark this page as your go-to Wix homepage.
You will see one website sitting in this section, and that is the site you had to create during setup. You won't be using this site, so just leave it there.


4. Purchase a Wix template
Now that you have a Wix account, you can purchase a Design Pixie Wix Template. View the Wix Templates here and make your choice! Remember, if you don't like the colors, the fonts, or anything else you can see on the live demo site of the template, everything can be changed. Choose a template based on the vibe and the layout you love most.

When you find a template you like, choose the license you need from the drop down before adding the item to your cart. Read the Product License terms here, which are quite simple. Personal Use means you are creating a website for yourself (it can be personal or business related) and you will keep the Site Design link to Design Pixie in the footer. Personal Use - No Credit means you are creating a website for yourself but you want to remove the Site Design link to Design Pixie from the footer. And lastly, Client Use means you are creating the website for someone else.
At the checkout in the Order Notes box, include the email address that you used to sign up to Wix.
5. Accept the Site Transfer
Within 24 hours after purchasing the template, you will receive an email from Wix to that email address. The sender address will be:
wix-team[at]notifications.wix.com.
This email won't be in your Wix inbox, it will be in your email inbox (eg. your Gmail inbox). This email will have a site transfer button link. You simply click on that link, and Wix will take you to the Dashboard of the new website, ready for you to go through and organize all your settings for the site.

6. Edit the Template
If you want to get stuck into editing the website, click the Design Site button top right. This will take you to the Wix editor where you can start making changes to the website.
Down the left side of the editor you will see the main links you need to make changes. Some common changes you may want to make include:
-
How to edit Pages & Menu
In the left panel, click on the Pages & Menu button. You will see a list of the pages included in the site. You can add more pages, re-arrange them or click on a page where it will take you to it to edit it. -
How to change Colors
In the left panel, click on the Site Design button. Click the arrow next to "Color Theme". You will then see the main site colors where you can change to any colors you need. -
How to change Fonts
In the left panel, click on the Site Design button. Click the arrow next to "Text Theme". You will then see the options to change the heading and paragraph fonts.
As you make changes to the site such as moving elements, adding text and adding sections, you will need to toggle back and forth between the desktop view and mobile view. Some changes don't automatically transfer across, so you always need to make sure you're editing the mobile view with every change you make to desktop.


7. Connect A Domain
You can use the Settings link at the top of the screen to Connect A Domain (eg. www.yourwebsite.com). To do this, you will need to pay for a Plan on Wix. Paying for a plan also removes any Wix ads from your site, and allows you to run an online store.
You can either purchase a domain through Wix and they will connect it to your website for you. If you have purchased a domain elsewhere, you can move it to the website. There are articles in the Wix Support pages which will help you with any steps like this.
8. Publish Your Website
Once you're ready to launch, in the site editor you will see the "Publish Website" button top right. Click on that button to make it live!


