If you're excited to start using new fonts in your iPad planner, you might be wondering how to install fonts in Goodnotes. In this guide, we’ll walk you through a simple, step-by-step process using the iFont app to install and use new fonts in Goodnotes. Whether you want to add a bit of fun or personality to your planner, we’ve got you covered.
Firstly, did you know we have digital planners for Goodnotes? We made these planners to be fun, colorful and full of all the good vibes you need when planning your day to day life. If you don't have a planner for your iPad yet you might want to check them out and see if any suit your style. Now onto the instructions!
Instructions for Installing Fonts to Goodnotes
Adding custom fonts to Goodnotes is easy. Following are the steps to install fonts on your iPad using the iFont app and then show you how to use them in Goodnotes.
1. Download and Install iFont
Before you can start installing fonts, you’ll need the iFont app. It’s a free app available on the App Store that allows you to easily install fonts on your iPad.
Open the App Store on your iPad.
Search for “iFont” and download the app. It’s free and simple to use.
Open iFont once the installation is complete.
2. Find and Download Your Fonts
With iFont installed, you’re ready to download the fonts you want to use. We have a range of handwriting fonts perfect for Goodnotes, so check them out and if you find any you like, make sure to pop them in your cart!
3. Import and Install Fonts into iFont
Now that you have your fonts downloaded, you need to import them into iFont.
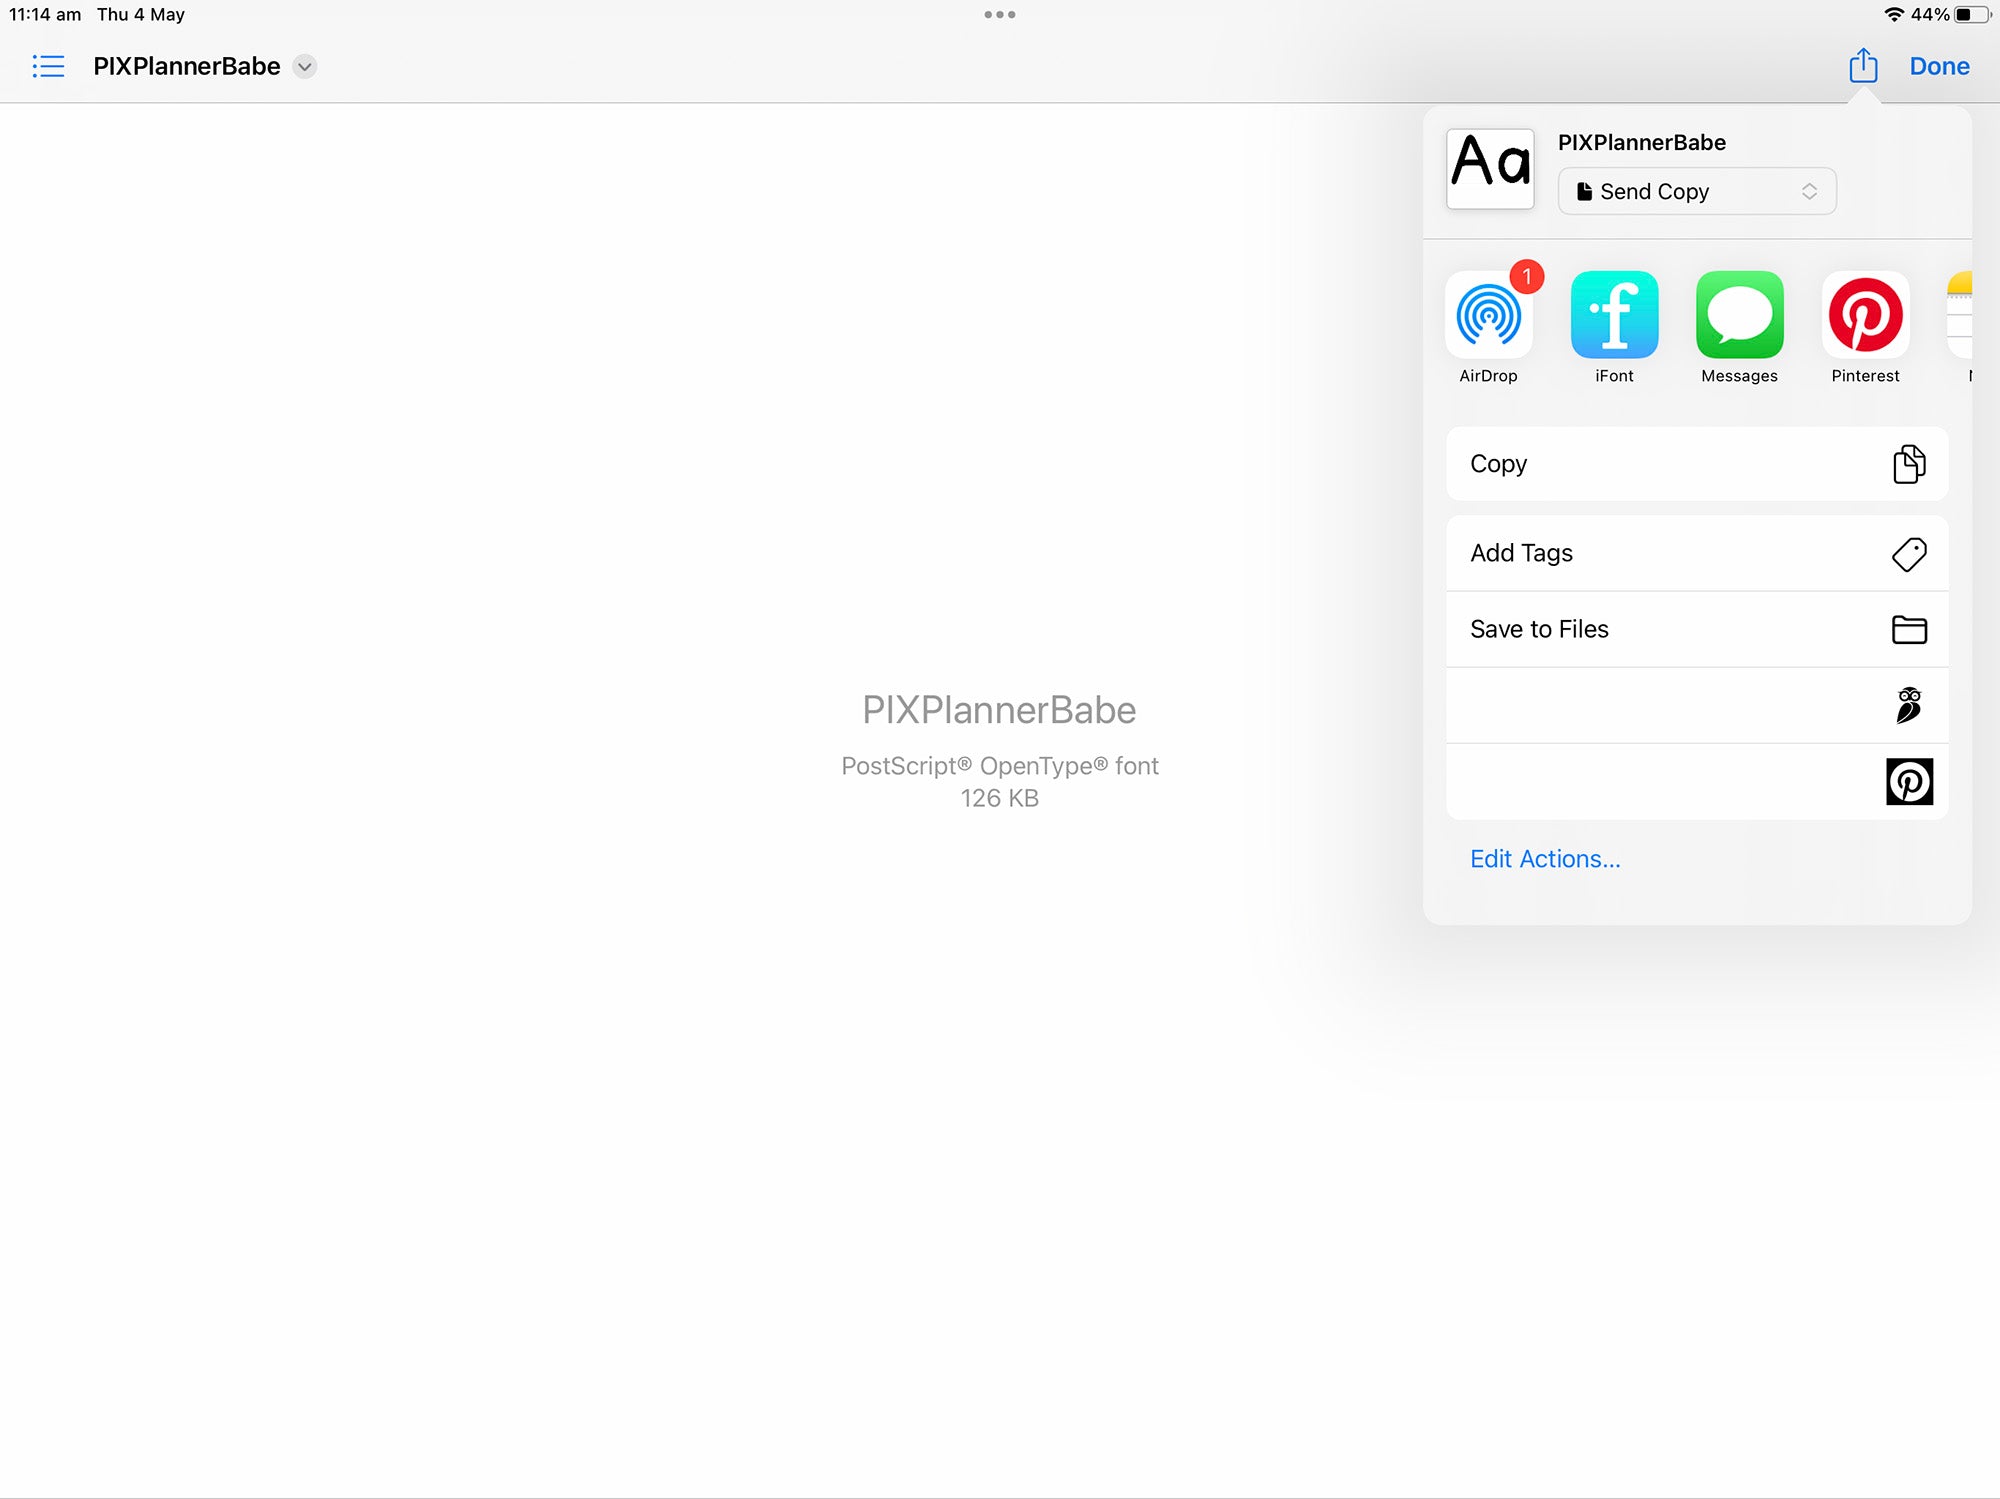
Go to where you downloaded the font files to your iPad (usually they end up in your Files app). Find the font you want to install and click the Share icon top right.
Choose the iFont app from the drop down.

Click "Install" and then "Allow".
Click "Close" and then "Open Settings".
Click "Profile Downloaded".

Click "Install" in the top right of the box.
If this warning pops up, you may need to enter your iPad passcode, then click Install again.
The font will now be installed to your iPad.

5. Use Your Fonts in Goodnotes
With the fonts installed, they’re ready to be used in Goodnotes.
Open Goodnotes on your iPad.
Create or Open a Document where you want to use your new fonts.
Tap on the Text Tool to add text to your document.
Select the Font Menu and scroll through the available fonts. You should see your newly installed fonts listed here.
Choose Your Font and start typing! Customize the size, color, and alignment to fit your style.


