Starting a website can be an exciting time. With Squarespace, you have a powerful platform that allows you to create stunning websites with ease. Whether you're a small business owner, a blogger, or an artist looking to showcase your work, Squarespace provides the tools and resources you need to bring your vision to life.
Starting A Squarespace Website
Following are steps on how to start a Squarespace website:
- Create A Squarespace Account
- Choose A Template
- Customize Your Website
- Add Your Content
- Set Up Your Domain
- Preview And Publish
Ready to go? Let's get you started on Squarespace.
1. Create A Squarespace Account
Visit the Squarespace website and click Get Started to sign up for an account. They will get you to choose a template straight away, so pick any template for now as that will create a starter site in your Squarespace account that you won't need to use. You will then need to sign up with your email address and your Squarespace account will be created.
You don't need to pay for anything just yet. Wait until you've finished the next step and then you can pick a plan.
2. Choose A Template
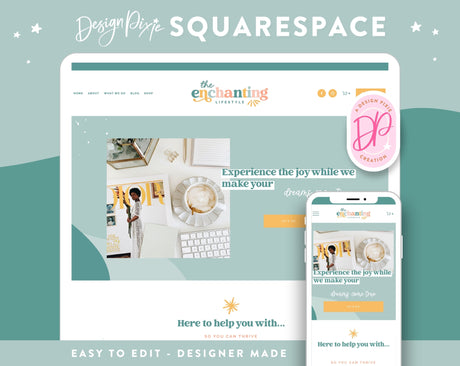
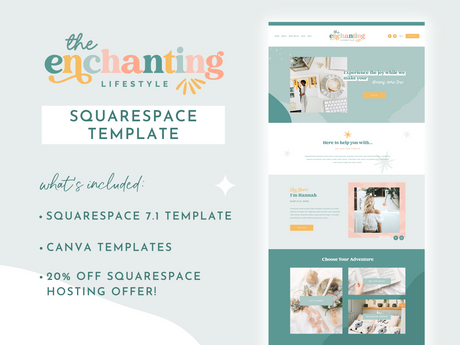
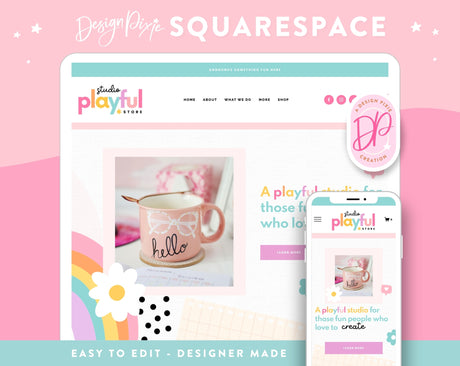
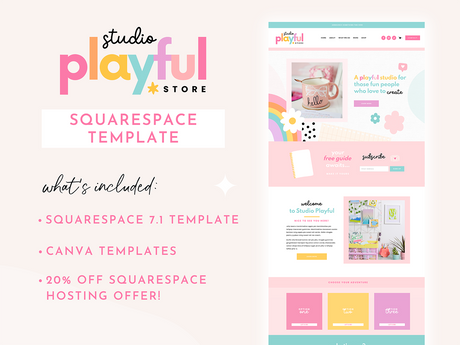
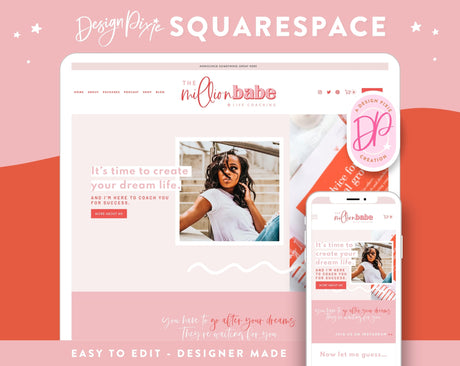
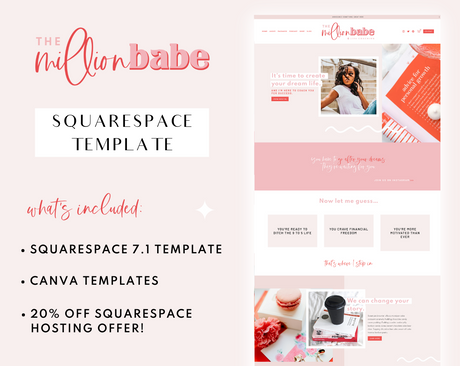
Now is the fun part. Here at Design Pixie, we have a range of the best Squarespace templates to design your website. When you purchase a template from us, it will be added to the Squarespace account you just created, as a new site to work on.
Explore the options and find a template that aligns with your style, vibe and goals. Remember, you can always customize the template to make it unique to your brand by changing colors and adding your own logo and photos.
By using a Design Pixie Squarepace Template, it will include a 6 month free trial. In that time you can work on your website for free, get to know Squarespace and edit the website to your liking. Once you are ready to make it live, you will need to pay for a plan. The Business Plan is the most recommended option.
3. Customize Your Website
Once you've chosen a template it's time to start customizing your website. Using a template, you will have the entire layout already created for you. You can edit each page one by one, starting with the home page.
Squarespace's new Fluid Engine drag-and-drop editor makes it easy to add and arrange content, change colors and fonts, and personalize your site to reflect your unique style.
4. Add Your Content
Now that you have the framework of your website in place, it's time to add your content. Whether it's text, images, videos, or products, Squarespace allows you to easily upload and organize your content. Make sure to optimize your content for search engines to improve your website's visibility.
5. Set Up Your Domain
A domain is the web address where people can find your website. Squarespace offers the option to register a new domain or connect an existing one. Choose a domain name that is memorable and relevant to your brand. Squarespace also provides SSL certificates to ensure your website is secure.
6. Preview And Publish
Before making your website live, take the time to preview and test it on different devices to ensure it looks and functions as intended. Once you're satisfied, hit the publish button and share your website with the world.
Starting a Squarespace website is an exciting journey that allows you to showcase your creativity and reach a wider audience. With Squarespace's user-friendly interface and powerful features, you'll have everything you need to create a professional and visually stunning website.

