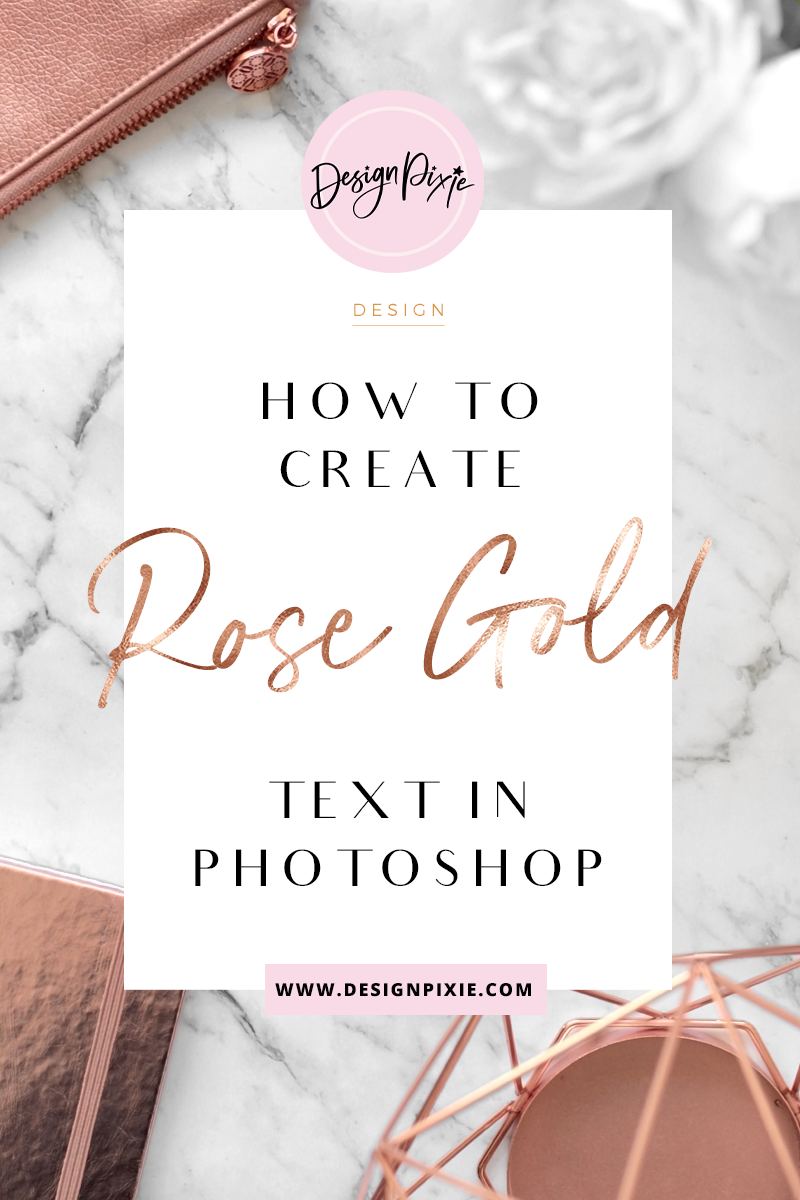
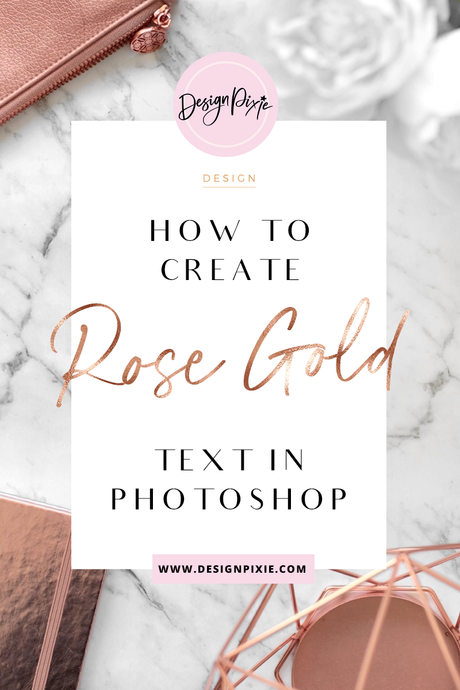
 Today I'll be using the Rose Gold texture from my Pretty Textures Kit! This kit has 70 large JPG texture images for all your commercial and personal design needs. The pack includes a mix of rose gold, marble, glitter, silver, gold and foil and it's super affordable!
HOW TO CREATE ROSE GOLD TEXT
1. Create a new Photoshop document
Open up Photoshop and go to File > New > Blank File. Set it to the size you want (try 500px by 500px) and give it a white or transparent background.
2. Type your text
Select the Type tool, choose your font, choose the colour black, and click anywhere on your new document. Type out whatever word/s you like. 

3. Add your metallic texture
Open your metallic texture image as a new document. Using the select tool, select a section of the texture image (or the whole thing), copy and paste it as a new layer on top of the text layer you've just created. In the Layers section, right click on Layer 1 (the metallic) and select "Create Clipping Mask". Your text will turn metallic. 

4. Resize the texture
If you've used a large texture image, you may want to make it smaller so it looks better on top of the text. Simply click one of the corners of your texture image and drag it inwards until you're happy with it (you may need to keep re-positioning it back on top of the text). 


5. Final steps
In the top menu go to Layer > Flatten Image. Crop it, save it and you're done!  If you want to add a metallic texture to a shape, simply create a shape with the Shape tool and follow on from step 3. I'd love to know if you try it out, let me know how you go in the comments! And if you're looking for a collection of textures to have ready for you on your computer, available to use for personal projects or products you create to sell, check out the Pretty Textures Kit.


1 comment
Hello! What is the name of that photoshop that you are using?