
How To Start A Shopify Store
Ready to get started? Let's get you set up on Shopify so you can run your own online store - on your own terms.
1. Create Your Account
Sign up to Shopify with our partner link:
Simply visit the Shopify website (Design Pixie is a proud Shopify partner) and click on the "Get Started" button. Fill in your email address, password, and store name. Don't worry, you can always change your store name later if needed. Once you've filled in the required information, click "Create Your Store" and you're on your way!
Shopify has a 3 day free trial, so you can check out how everything works before committing to a plan. After that free trial is up, you will need to pay for a monthly plan to continue working on your site and eventually push it live.
When you are ready to choose your plan, you will need at least the Basic plan.

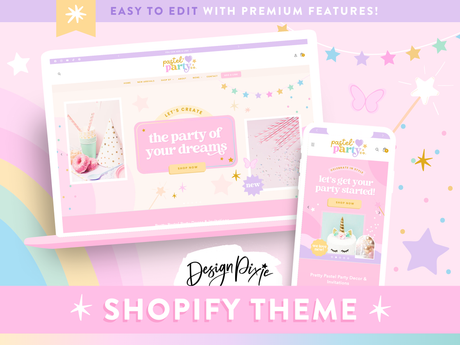
2. Install A Theme
Now that you have your Shopify account, it's time to make your store your own. One way you can do this is by picking a theme that inspires you.
Shopify has their own theme store which has basic theme frameworks. These are blank structures that take quite a bit of work to style up.
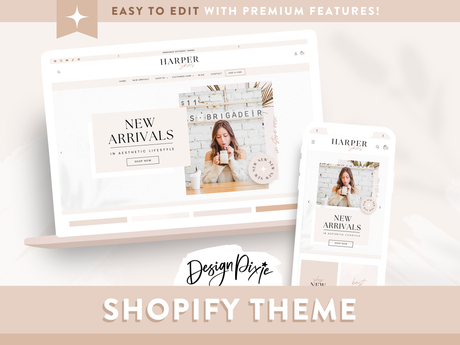
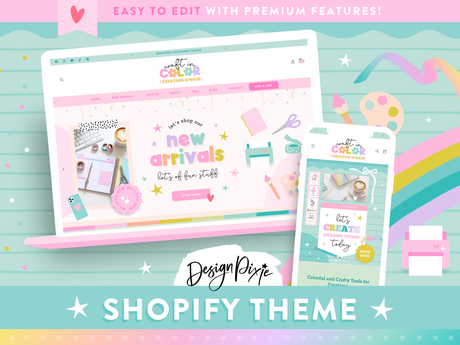
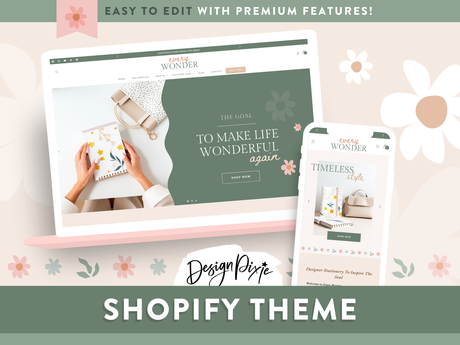
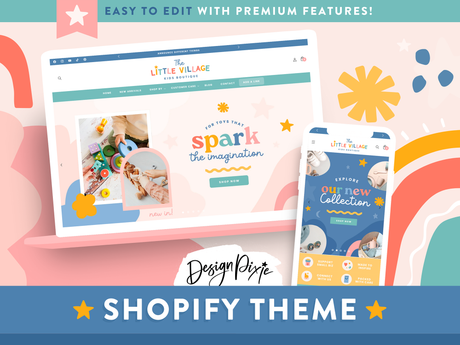
If you want a theme where the design is already done for you (to save a tonne of time!), we have creative Shopify Themes available. These include the framework PLUS the design, with colors, marketing banners and sections made for you to add in your content. With the design already done, it's a lot more enjoyable changing up colors, text and more to make it your own.
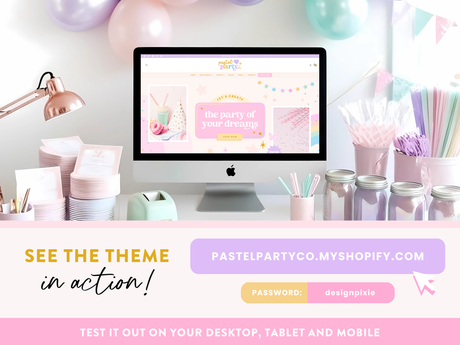
We also provide an Installation Guide to install our themes, walking you through step by step. This is great if you're just starting out as it guides you to where everything is.
If you need that extra bit of help and want it whipped up for you, we have Shopify Theme Installation.
Popular Shopify Themes
View all-

-


-


-

 $159.00 AUDUnit price /Unavailable
 -
 $159.00 AUDUnit price /Unavailable
 -


-
 $159.00 AUDUnit price /Unavailable
 -


-


-
 $159.00 AUDUnit price /Unavailable
 -


-


3. Manage Your Settings
To get your store working as it should, you will need to go through the Settings section of Shopify to ensure you have everything set up as needed. This includes managing your:
- Store Name
- Store Email Address
- Payments
- Shipping
- Checkout Process
- Taxes
- Locations
- Languages
- Policies
This step is important, as you need to comply with all the rules and regulations in your country for selling online.

4. Create Collections
It's a good idea to create collections before you start adding products to your store. That way, you can keep everything organised and easy to find.
To create your collections, go to Products > Collections and then Create Collection.
A few you might like to add include New Arrivals, Best Sellers and Sale. You also may want collections to categorise your products, such as Tops, Dresses, Accessories, etc.
Another bonus in our Shopify Themes is that they include Collection Banner templates, so you can have a stylish cover image for each collection.
5. Add Your Products
Now it's time to add products to your store. Go to Products > Add Product. Fill in the product details, including the title, description, price, and images. You can also set up variants for different options, such as size or color. In the right "Product Organization" panel, choose the collections you would like your product to appear in (you need to have already created collections for these to show in the drop down).
How To Sell Digital Products On Shopify
If you will be selling digital products, you will need to install a digital downloads app from the Shopify app store so you can add a downloadable file to each product. Your customers will then receive the download via email when they make a purchase at your store. Go to Apps > All Recommended Apps and search "digital downloads" to find the best one for you.
Need creative images to display your products? You might like our Product Listing Image templates - these are especially great for digital products where you need to show your customer what's included.
What's Next?
You need to get marketing! We can help you with that.